The **Ultimate Error Checklist** for Credit Repair
This guide helps you go through your reports step by step, spot those common slip-ups, and jot down clear notes so you can start the dispute process immediately.
Why this Checklist Matters
Little mistakes on your credit report—maybe your name’s misspelled or the balance isn’t quite right—can mess with your credit score or confuse lenders. These errors pop up all the time. Sometimes it’s as simple as a typo, but you’ll also see bigger issues, like debts showing up twice or accounts that aren’t even yours. This checklist ensures you’re not just scanning—you’re actually catching what matters.
Catching little mistakes is how big score improvements happen.
Step 1
Check Your Personal and Identity Info
Start with the basics—your personal details. Even small errors can mess things up. You don’t want someone else’s accounts mixed into your report, or lenders getting the wrong idea about you.
**Name:** Scan for typos, wrong middle initials, or any names you don’t recognize.
**Addresses:** Go through all the listed addresses. Spot anything unfamiliar? Mark it.
**Phone/Email:** Make sure these are yours, not some random old contact or someone else’s info.
**DOB/SSN:** Double-check every digit. Even a small mistake here can cause big headaches.
Common Mistakes to Watch For:
Typos or misspelled names and addresses.
Mixed files—where someone with a similar name has their accounts on your report.
Being marked as deceased or flagged with serious alerts by mistake.
Step 2
Spot Wrong Ownership and Status on Your Accounts
If the ownership or status is wrong, it can totally throw off how lenders and credit scoring models judge you.
**Ownership:** Make sure you are correctly listed as the main borrower, a joint borrower, or an authorized user.
**Accounts that aren’t yours:** Any loans or credit cards you never opened are a big red flag for identity theft or mixed-up files.
**Closed or Open:** If you closed an account, ensure it’s not still listed as open, and vice-versa for active accounts.
**Collections Status:** Check if any accounts are marked with serious negative statuses like "charged-off" or "in collections". The dates and details should line up with what actually happened.
Common Mistakes to Watch For:
You’re listed as the owner when you’re just an authorized user.
A closed account still shows up as open, which can mess with your utilization rate and risk profile.
Old negative accounts are still hanging around, even though they should’ve dropped off after the reporting window.
Step 3
Look for Duplicate or Repeated Debts
Duplicates can make your debt look bigger than it is, which can hurt your score and your chances of getting approved.
The same account shows up more than once, perhaps with slightly different names.
Sometimes you’ll see both the original creditor and a collection agency listing the same debt.
The same collection account pops up under different collection agencies.
Old mistakes that got fixed end up back on your report.
How to Spot These Duplicates:
Look closely at account numbers and original balances—if they match, that’s a red flag.
Check the dates. If two accounts have the same original creditor, similar dates, and matching balances, you’re probably seeing the same debt listed twice.
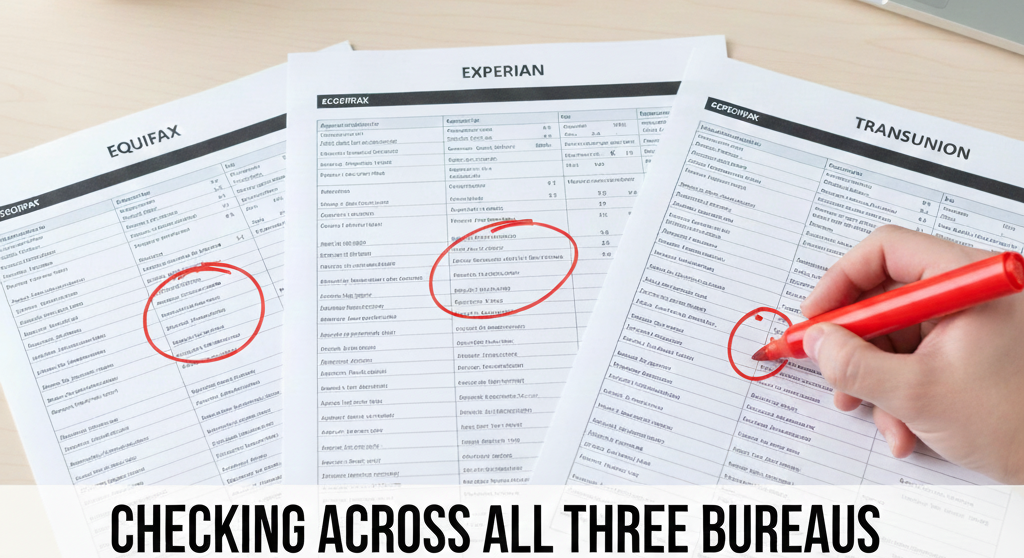
Compare all three credit reports side by side to see if the duplicate appears on just one, or all of them.
Checking across all three bureaus (Equifax, Experian, TransUnion) is the easiest way to catch duplicates.
Step 4
Check Your Balances and Credit Limits
Getting your balances or limits wrong is a big deal because these mistakes mess with your credit utilization—which lenders really care about.
**Current Balance:** Match up the numbers reported with your most recent statements. Flag any balance that’s too high or a weird negative number.
**Credit Limits:** Make sure your credit limits are correct. A reported limit that is too low makes your utilization look worse than it is.
**Paid Accounts:** If you’ve paid off a loan or collection, check that it actually shows a zero balance.
Common Mistakes to Watch For:
Accounts showing a bigger balance than you really owe.
Credit limits missing or listed too low.
Paid-off collections or loans still showing as unpaid.
Step 5
Check Your Payment History for Mistakes
Your payment history really matters when it comes to your credit profile, so catching any errors here is a big deal.
**Late Payments that Weren’t Late:** Match any late marks on your credit report with your own bank or card statements. If your statements say you paid on time, that’s your proof.
**Wrong Dates for Missed Payments:** Watch out for errors like the wrong “date of first delinquency” or “date of last payment”.
**Extra Months Marked Late:** Scan the month-by-month breakdown for accounts that show multiple late payments you know you didn’t make.
Why the Dates Matter:
The “date of first delinquency” decides how long negative stuff sticks around on your report. If the dates are wrong, old problems might look recent, and that can drag down your score even longer.
Step 6
Watch for Signs of Identity Theft or Mixed-Up Files
Some mistakes can mean someone else’s info got tangled up with yours, or maybe someone’s using your identity.
Accounts you never opened, especially new credit cards or loans.
Hard credit inquiries from lenders you don’t recognize.
Collection notices from companies you’ve never dealt with.
Personal info that just doesn’t fit—like addresses or employers you’ve never had.
Action If You Spot These:
Don’t ignore it. Think about putting a **fraud alert or credit freeze** in place. File an identity theft report with the right authorities. Make sure you dispute those bogus accounts with both the companies that reported them and the credit bureaus.
Step 7
Keep an Eye Out for Data-Management Glitches
Not all errors come straight from a creditor messing up. Sometimes, the way credit bureaus handle or update your data creates problems on its own.
Old mistakes pop back up after you already fixed them.
The same account shows up more than once, maybe under different names.
Weird technical issues—missing info, strange symbols, that kind of thing.
How to Spot These Issues:
Compare your latest credit report with older ones you saved. See if any mistakes you fixed before are back again.
Watch for accounts that show up twice or have different info under different sections or with different bureaus.
Ready to Fix What You Found?
You've successfully diagnosed your reports and identified the errors. The next step is to challenge them. Move to the **Treatment** phase to access the exact dispute letters you need to get these items removed.